Step 1: Punctual Arrival & Pre-Service Walk-Through
We always arrive on time and begin with a direct, friendly greeting at your front door. Before any equipment touches the glass, we conduct a quick initial consultation with you to set priorities and protect your property:
- Identify Priority Areas: Let us know if you need specific rooms completed first—such as home offices during work calls or nurseries before naptime.
- Off-Limits Rooms: If there are specific rooms or windows you prefer us not to enter or clean, simply point them out.
- Flag Pre-Existing Issues: Clear communication protects everyone. We ask that you alert us to any existing concerns before work begins, including:
- Windows obstructed by heavy or fragile furniture.
- Broken window panes, chips, or failed dual-pane thermal seals (fogging between panes).
- Chipped glass from flying rocks or lawnmower debris (a very common occurrence in North Texas).
- Fragile, damaged, or sticking window blinds. In the past, unmentioned broken blinds have fallen unexpectedly during operation, and pre-cracked glass can worsen under normal cleaning pressure.
- Windows that stick or resist sliding due to foundation shifting in varying weather.
- Latches or locks that are broken, stuck, or misaligned.
Pro Tip for Homeowners: Take a brief walk around your home before your appointment. Inspecting your windows ahead of time helps identify pre-existing rock chips or fragile blind mechanisms so we can navigate them safely.
Step 2: Screen Removal & Track Detailing
Clean glass does not stay clean for long if the tracks and frames are caked with dirt. Depending on your home’s layout, we typically begin indoors by removing screens and vacuuming/wiping down the tracks:
- Strategic Screen Handling: On single-story homes with exterior-mounted screens, we carefully remove and place them outdoors for washing. On two-story properties, we avoid lowering or dropping screens from high elevations to prevent bent aluminum frames or surface damage.
- Preventing Cross-Contamination: When handling dusty screens indoors, we take extreme care to keep loose dirt away from your flooring, trim, and furnishings.
- Pre-Damaged Screens: We inspect screens for dry rot, tears, or bent frames. If we spot issues, we bring them to your attention immediately before washing begins.
Step 3: Interior Window Cleaning
With tracks clear and screens removed, we detail the interior glass surfaces:
- We use professional applicators, squeegees, and lint-free microfiber towels to lift dust, handprints, cooking film, and pet nose marks.
- Sills and trim edges are thoroughly wiped dry to prevent drips or water damage to your drywall and woodwork.
Step 4: Dedicated Screen Washing
Dirty screens trap windblown dust, which splashes right back onto clean glass during the next rainstorm.
- We hand-wash and rinse screens outside using specialized, non-abrasive detergents whenever heavy buildup or pollen is present.
- Both the mesh and the perimeter frames are wiped down and set aside to dry before reinstallation.
Step 5: Exterior Window Cleaning
Exterior glass endures the harshest environmental punishment—from baking summer sun and dust to road exhaust and sprinkler overspray:
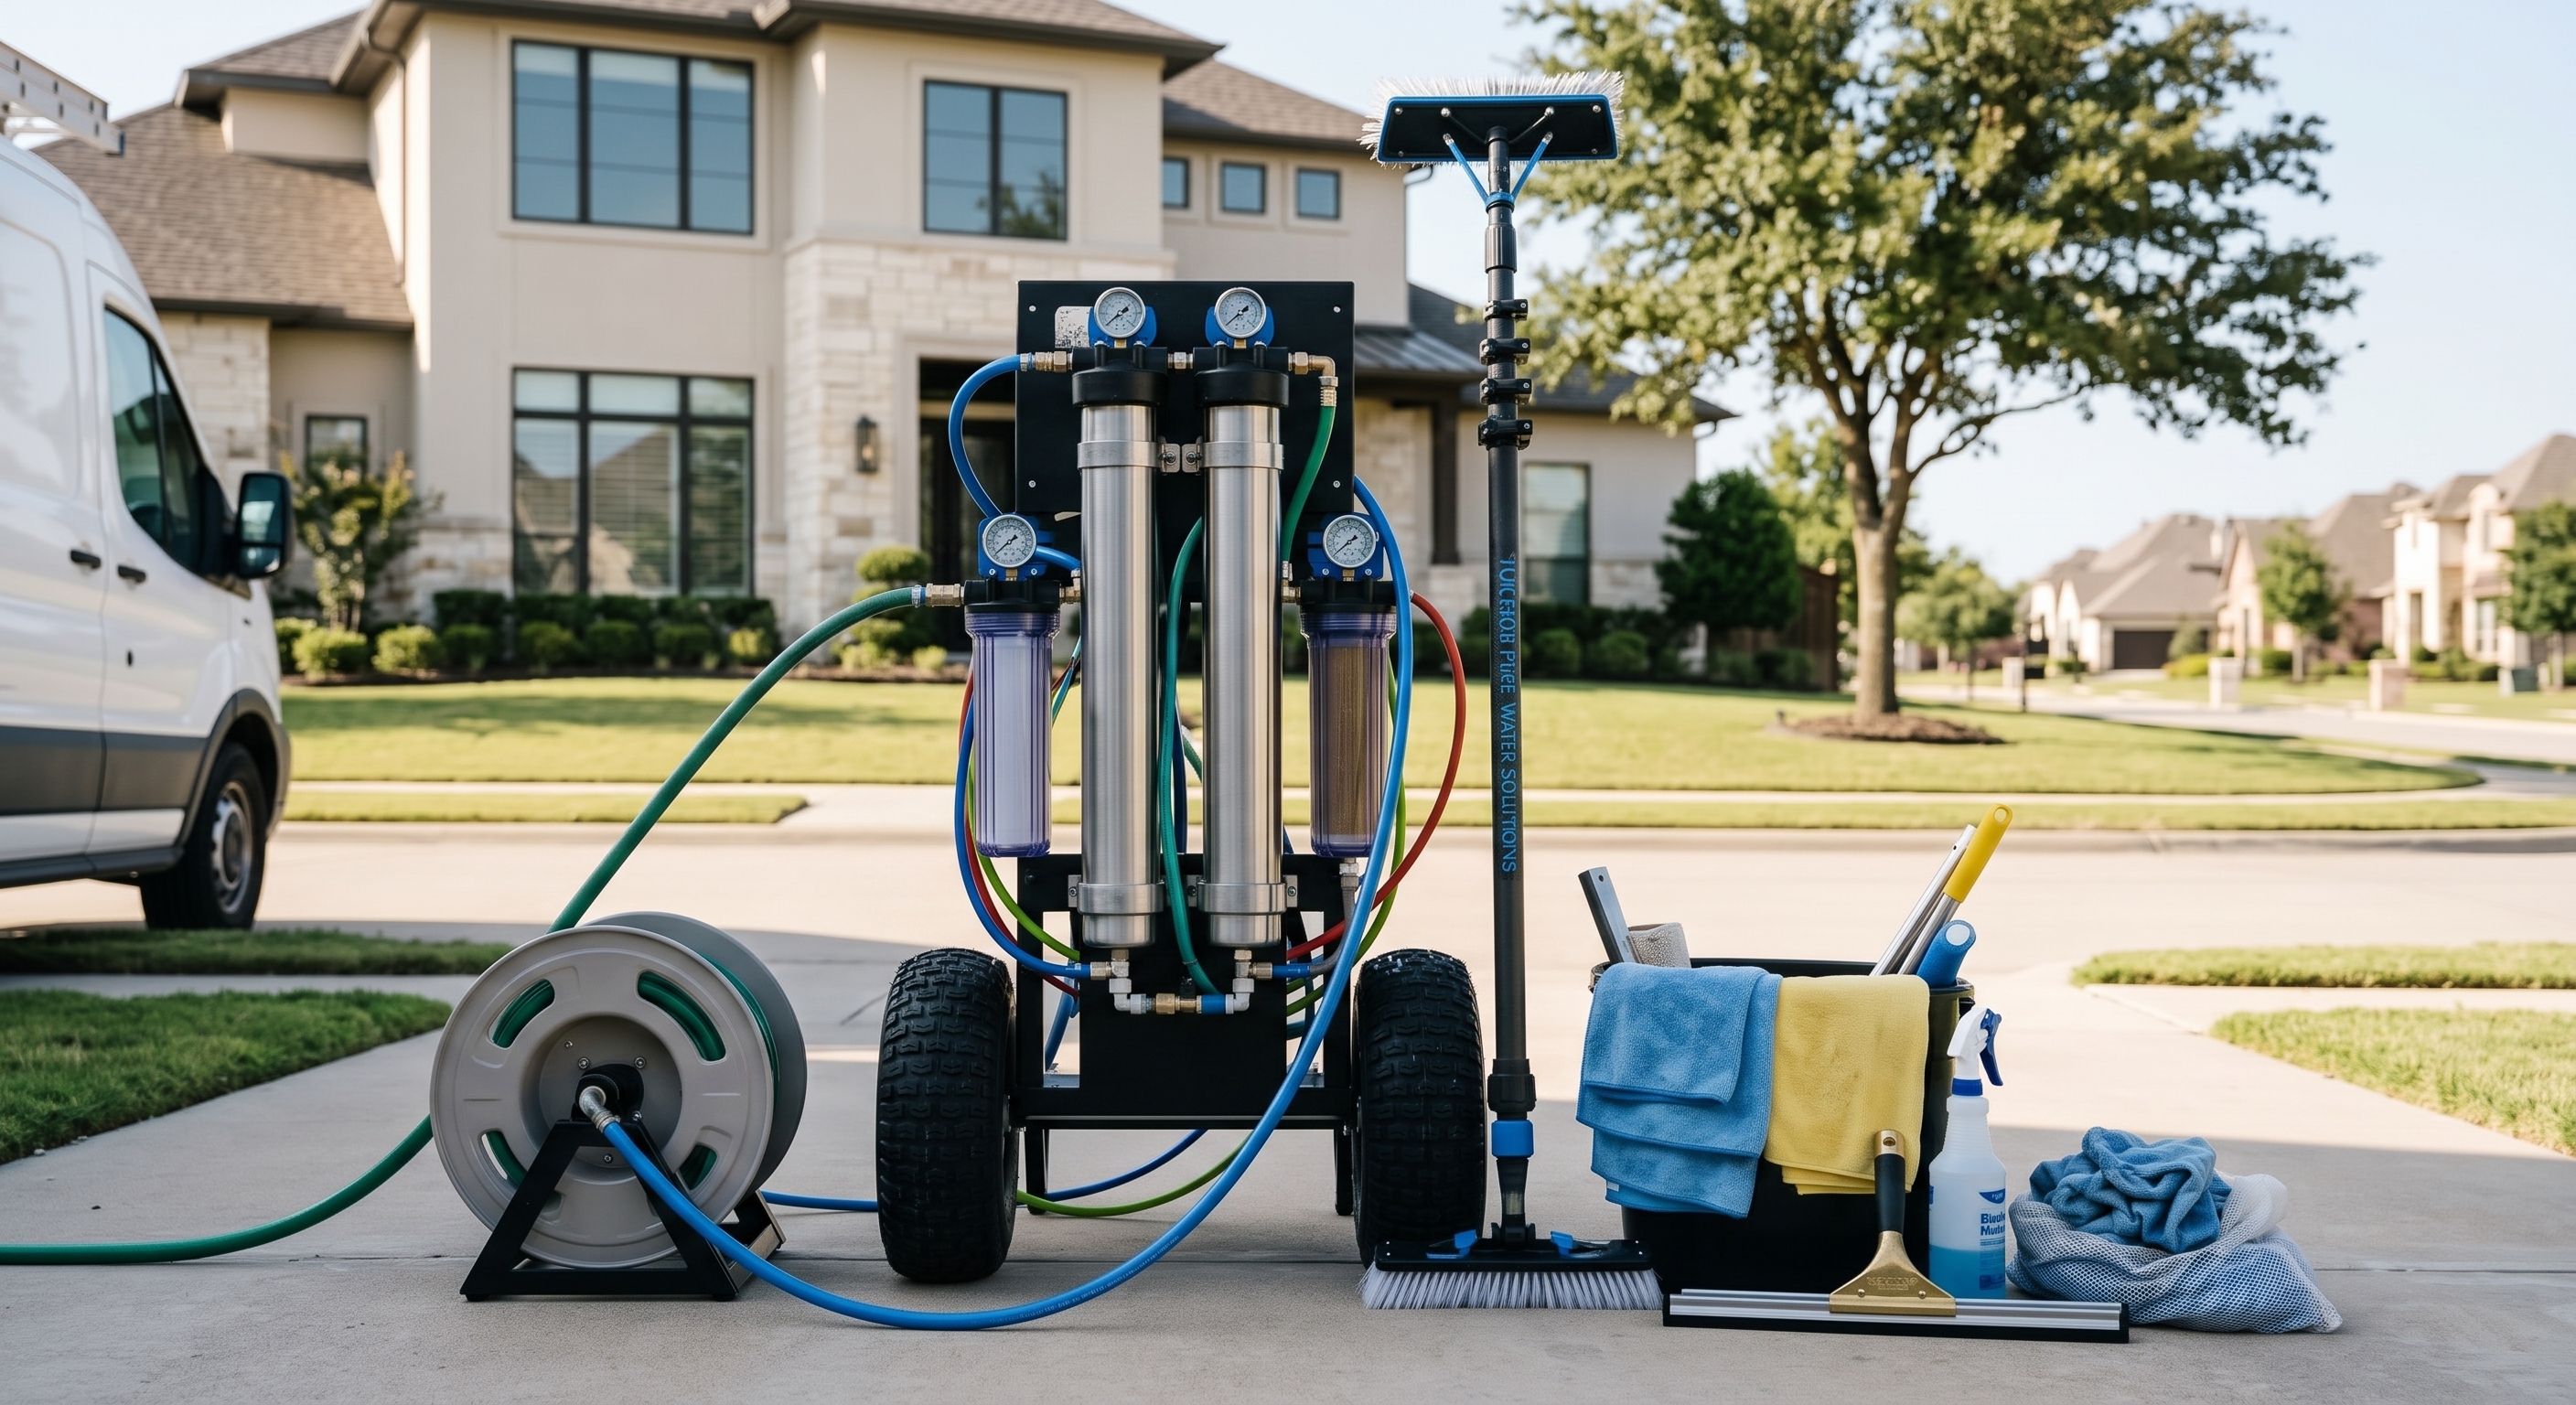
- We use specialized glass cleaners and pure-water technology to lift stubborn outdoor contaminants, spiderwebs, and insect debris.
- Window frames and outer ledges receive a full rinse and wipe-down, leaving a spotless, streak-free surface.
Step 6: Detailed Final Touch-Ups
Before anything is put back together, we inspect every pane from multiple angles:
- Edge detailing ensures no water beads remain hidden in corners or gaskets.
- Any stray micro-spots or smudges are touched up with clean microfiber detailing cloths.
Step 7: Screen Reinstallation & Final Inspection
Once the exterior and interior glass are completely dry and inspected, all clean screens are carefully put back into place.
Please note that our technicians may need to re-enter the home to complete screen installation under two specific circumstances:
- Inside-Mount Screens: Many modern window designs feature screens engineered to seat exclusively from the interior track.
- High Second-Story Windows: If upper-level windows cannot be safely or securely accessed from exterior ladders, we seat the screens from the inside to ensure a snug, damage-free fit.
An Honest Note on Heavy Staining & Damaged Glass
We take immense pride in our work and use professional techniques to remove stubborn road grime, white crust, rust stains, and mineral deposits.
However, some glass surfaces suffer from long-term, irreversible damage that standard cleaning cannot cure:
- Severe Hard-Water Etching: Untreated sprinkler overspray over several years can chemically etch microscopic craters into the glass itself.
- Blown Window Seals: If a window looks permanently cloudy, foggy, or milky, the hermetic seal between the double panes has failed. The moisture is trapped inside the sealed insulated glass unit (IGU), which requires glass replacement rather than surface cleaning.
Whenever we encounter glass that has sustained permanent structural or chemical damage, we point it out right away so you know the exact condition of your windows.
Ready for Crystal-Clear Views?
Whether preparing for upcoming holiday gatherings or freshening up your home for the change of seasons, a systematic, careful window cleaning protects your investment and floods your home with natural light.
Call or Text Us: 940-399-5701
Schedule Online: www.wranglerwashers.com